Old to New, and New to Old
Couldn’t resist getting another Spectrum hardware release. I’d previously had a USB keyboard converter , and the original ‘Recreated’ ZX Spectrum. Both of which were effectively keyboard converters without any hardware inside them to actually run an emulator (although I have done this with a Raspberry Pi inside a ZX Spectrum Plus.
So it arrived and I wasn’t disappointed. The system works flawlessly from my perspective. It even gives you the opportunity to auto-load your own ROMs and games via the storage USB connector to the rear. In addition, three peripheral ports are included for joysticks and the like.
The only nostalgic downside for me (more than likely for copyright reasons, was the ‘Retro – The Spectrum’ branding on the case. Nothing wrong with it, but I wanted the original aesthetic from 1983!
As this is a simple device, I decided that I’d have a go at a conversion. Simple enough in theory. The case appears identical in dimensions.
So i set to work, first comparing, then attacking it(!)
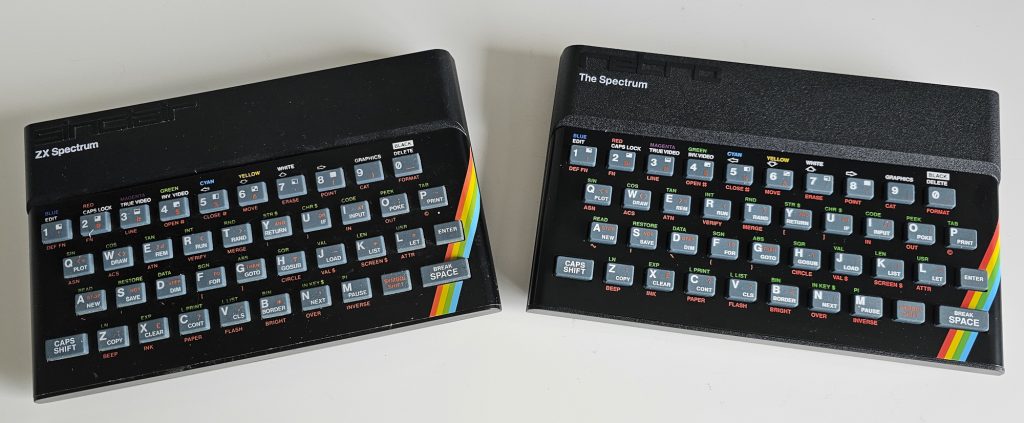
Almost identical apart from the branding.
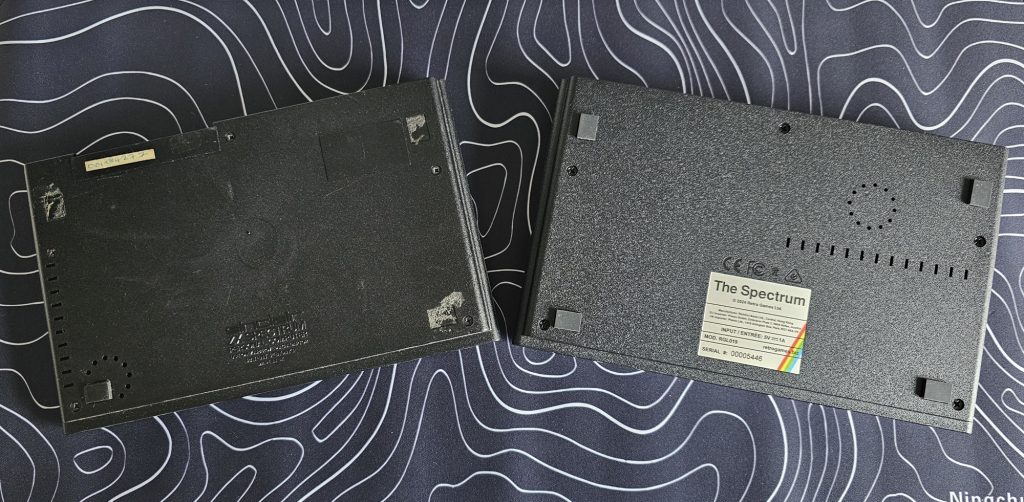
Screw holes looked to be in the same place on both, which would make the new/old sandwich a lot easier.
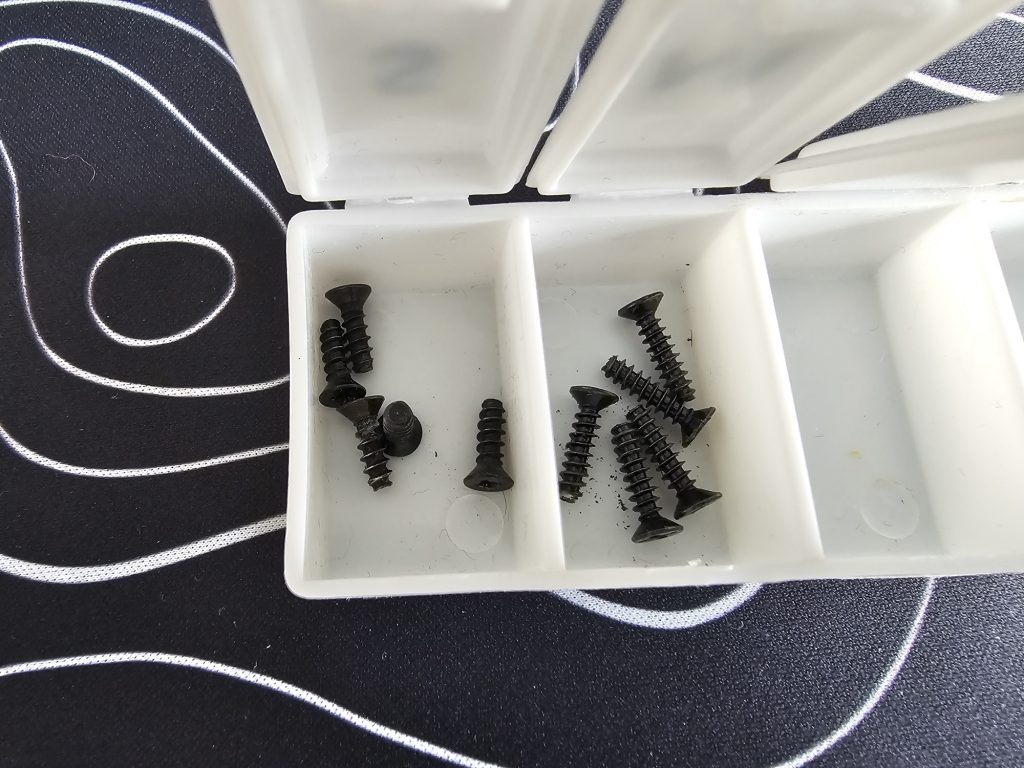
Undoing the case screws, they were almost the same, 5 in each, with the newer case having slightly longer screws by a few mm.
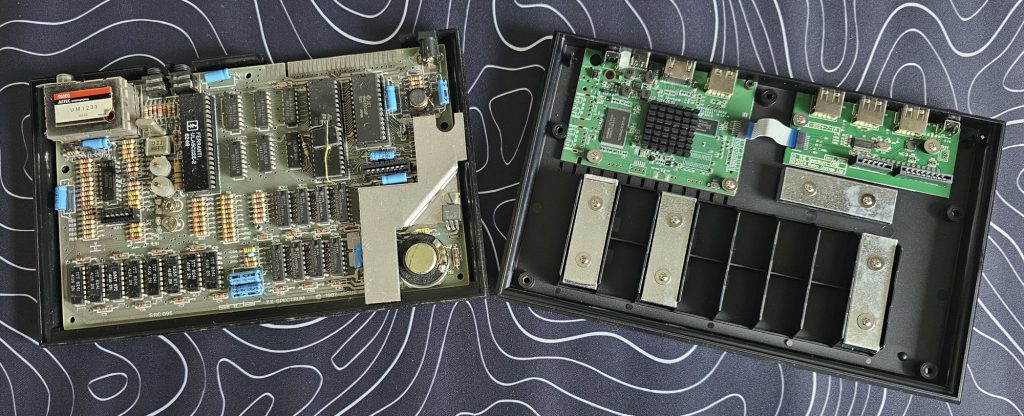
The bases obviously starkly different. The original motherboard on the left and the new to the right. I/O interface board linked to the main board via a ribbon cable. Weights are also present on the new one to give something like the feel of the original.
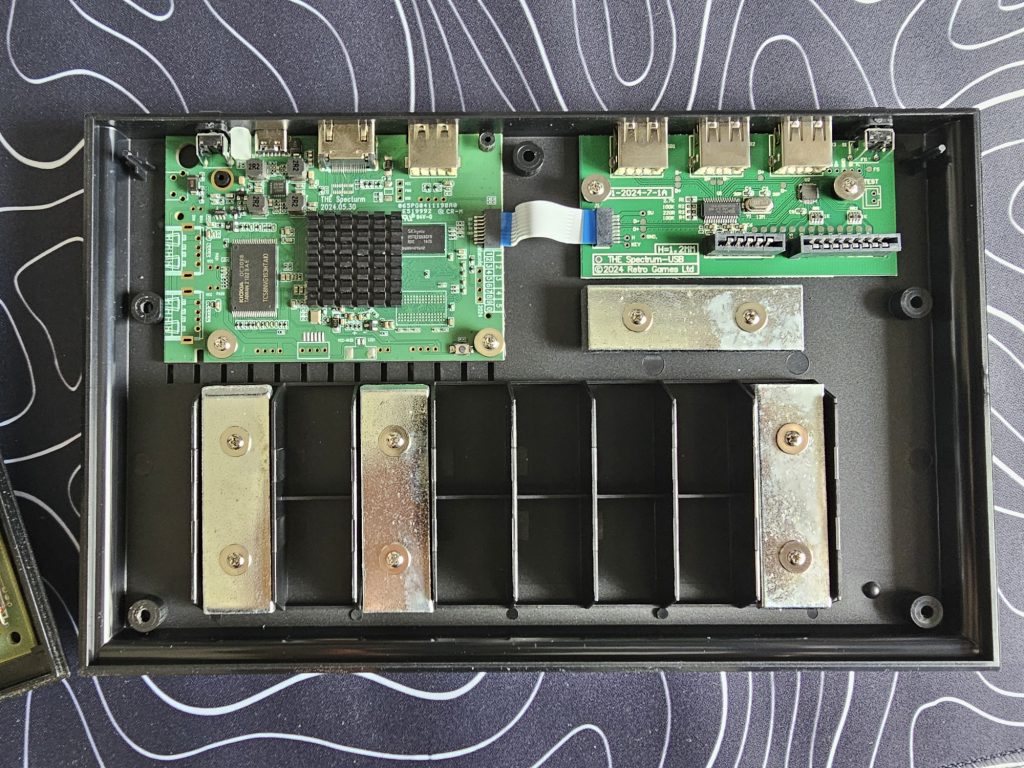
A closer look at the new one.
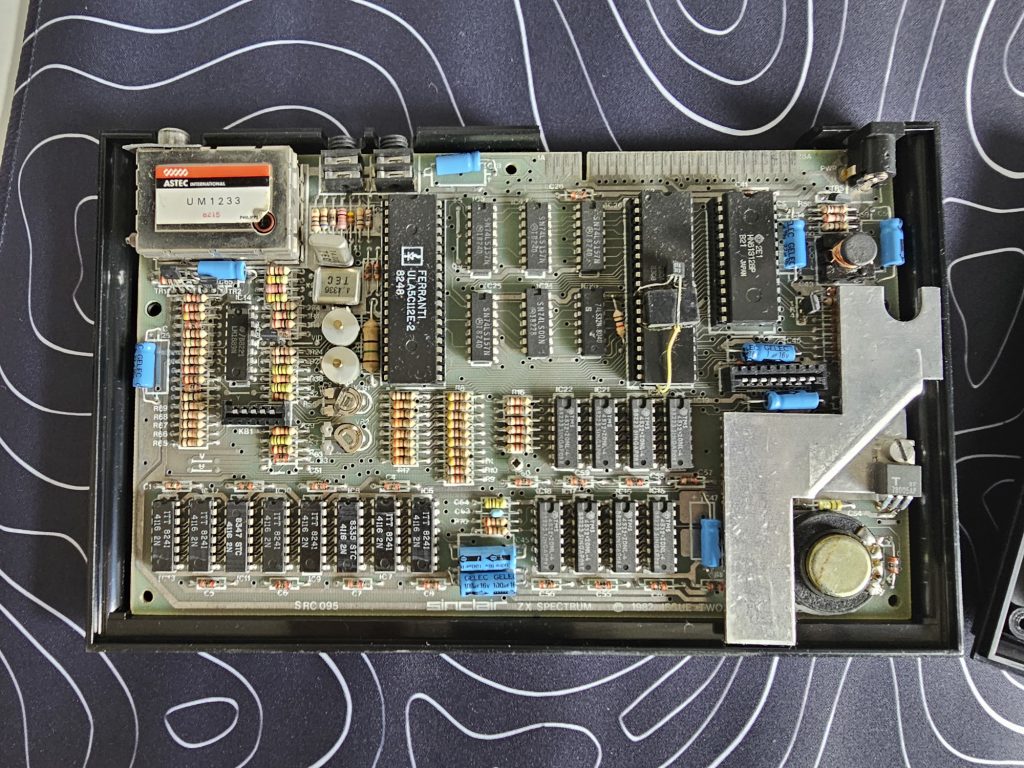
Compare and contrast the original.
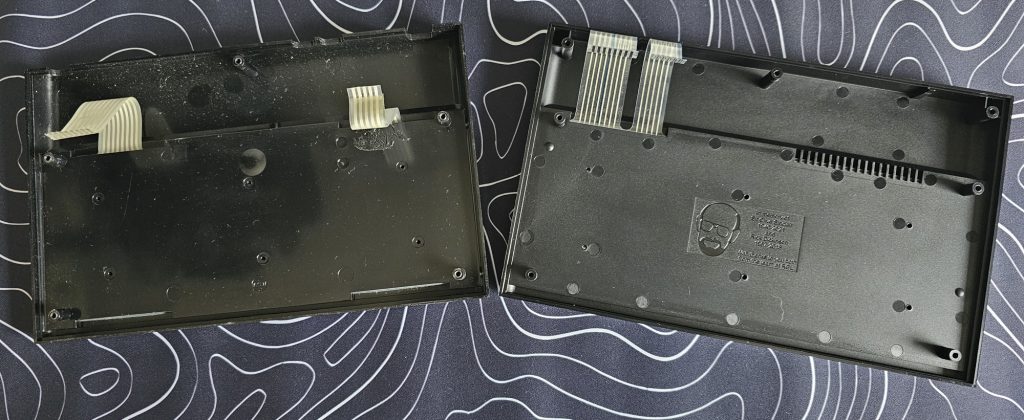
Lids almost the same. The main differences are the slots for the ribbon cables. The new Spectrum on the right now has one slot for both cables, and a vented slot where the previous thin cable would exit.
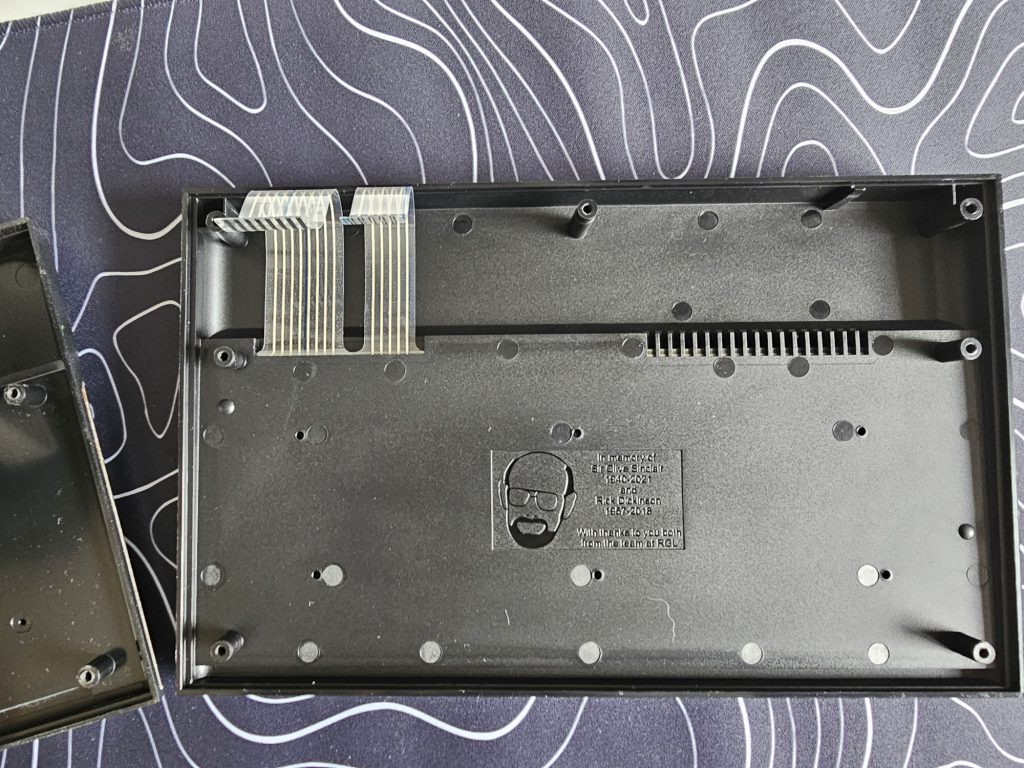
A closer look at the new one, and as well as the ribbon cable arrangement…
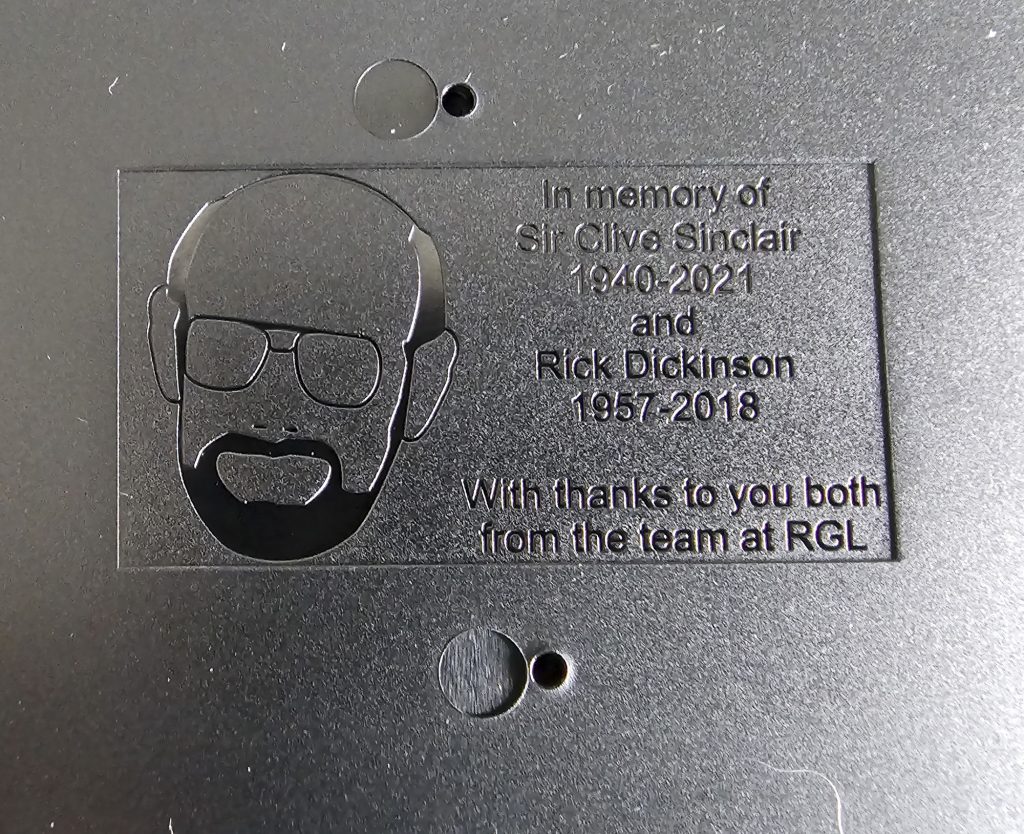
…what a nice touch!
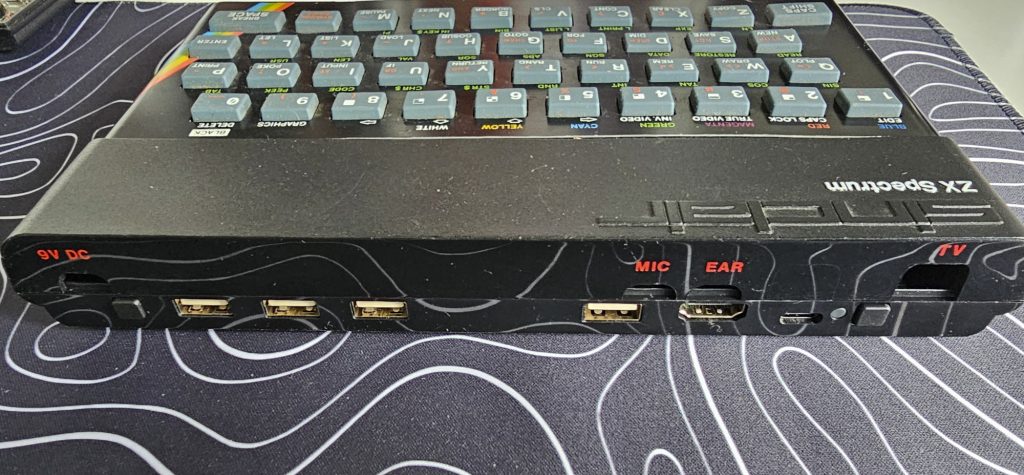
Laying the old case on top of the new machine, all looks well, if a little odd.
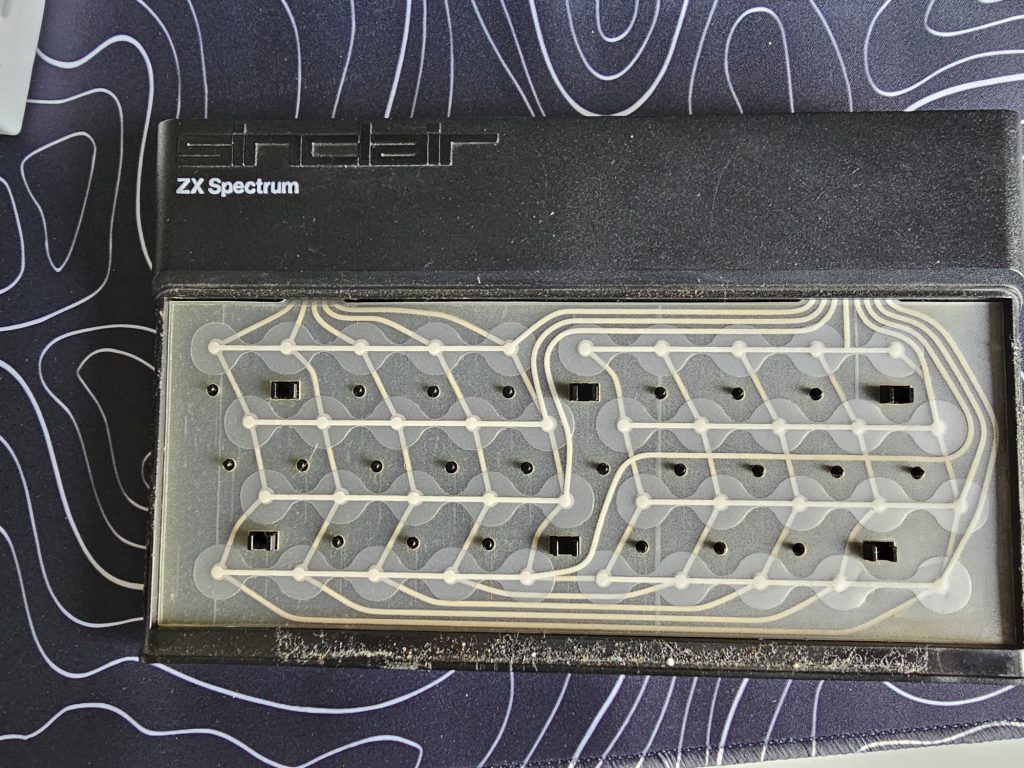
Next was to take off the faceplate and rubber keyboard to reveal the membrane.
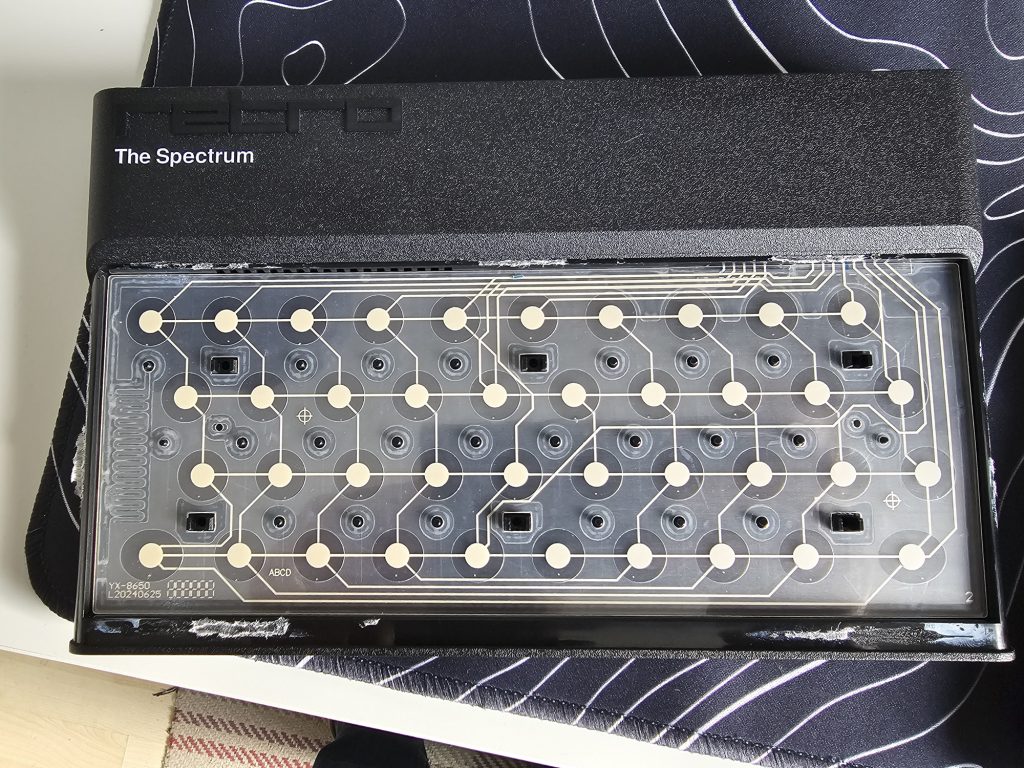
On the new Spectrum, a far better quality membrane than the Spectrum original.
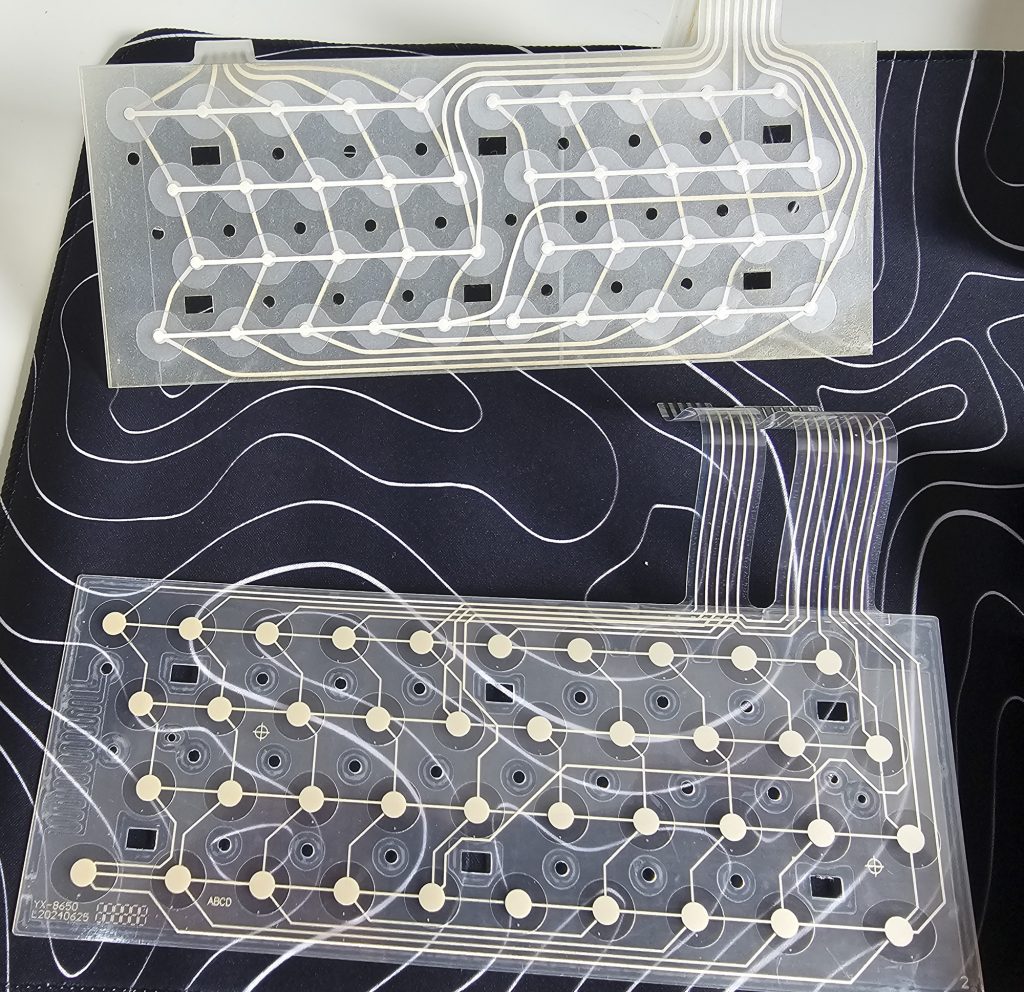
All does the same job though essentially.
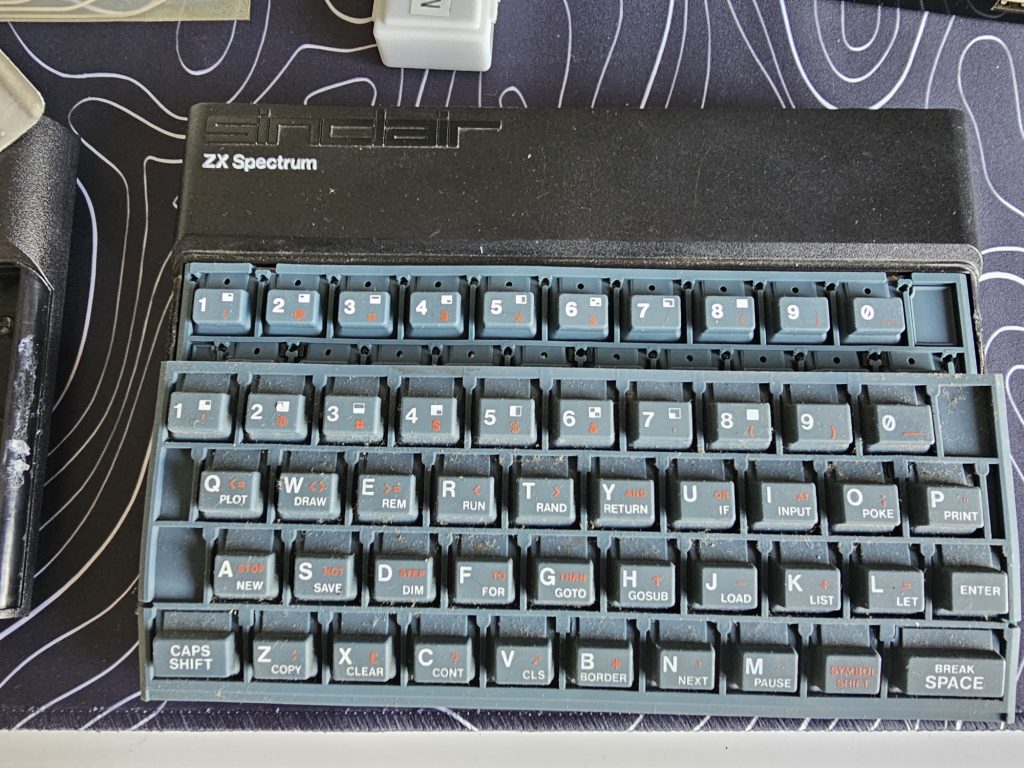
Keyboard rubber was different in design (slightly). From initial inspection it looked like the original Spectrum has more space in for the membrane and rubber keyboard.
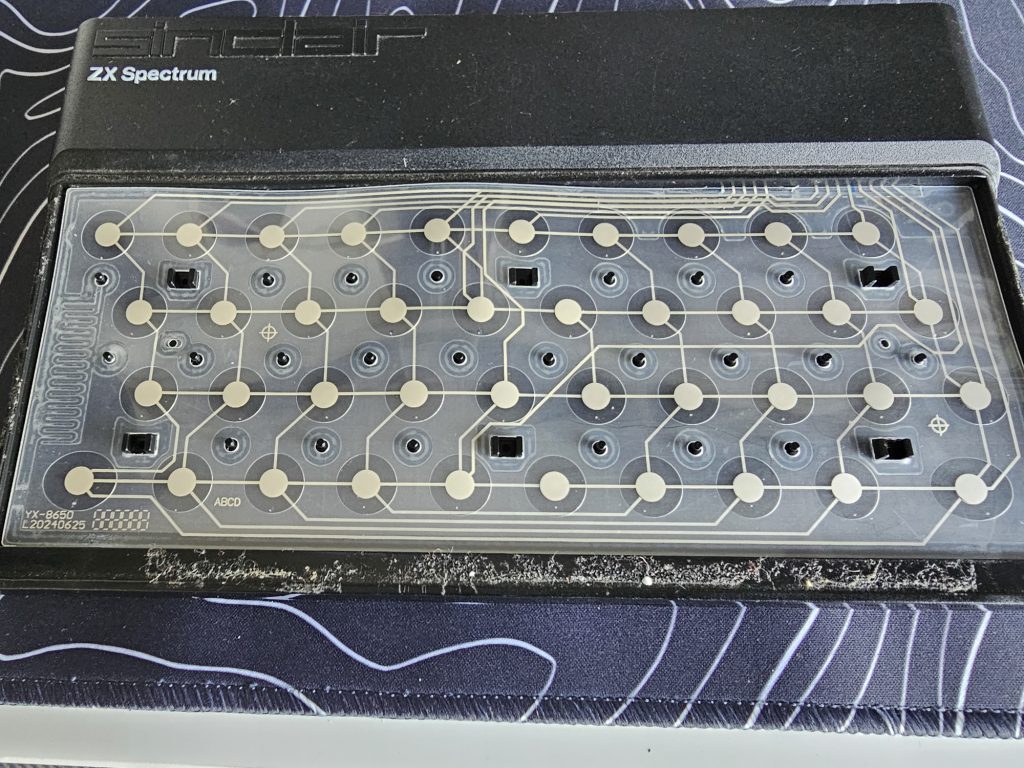
New membrane in place, it didn’t lay flat. The holes and faceplate stand-offs looked to align, but not quite. Whether this is by design or due to manufacturing tolerances, I don’t know.
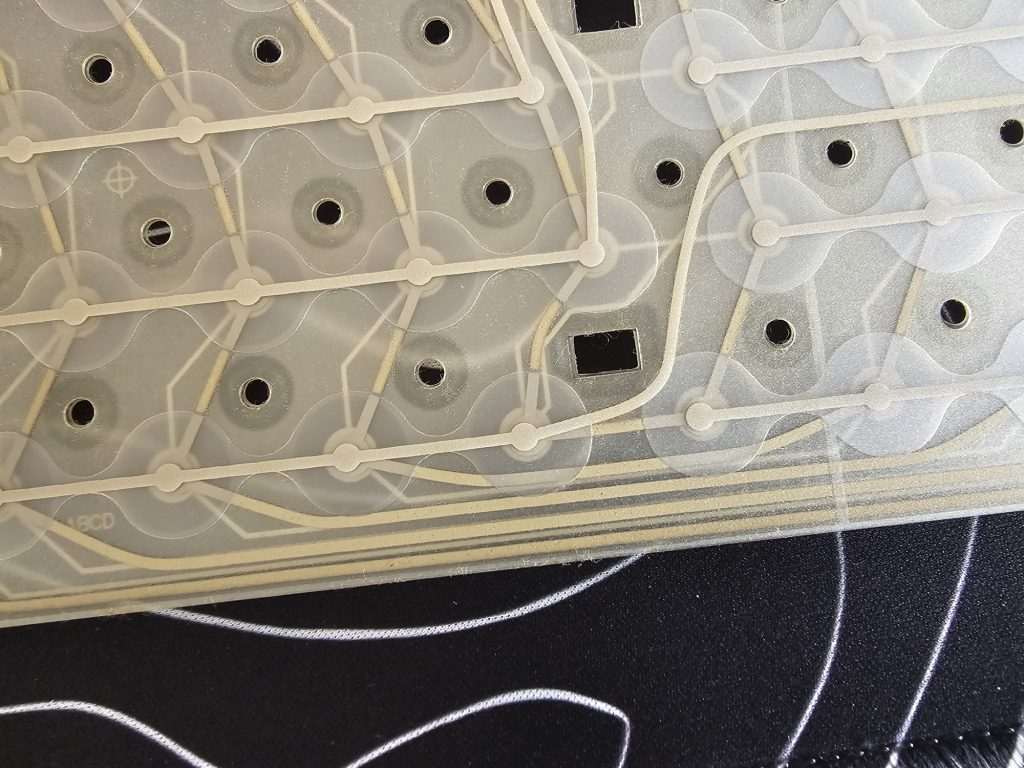
I lined them up and they were indeed slightly different, by tiny amounts. So I shaved off little bits of cutout and enlarged holes slightly with a sharp blade.
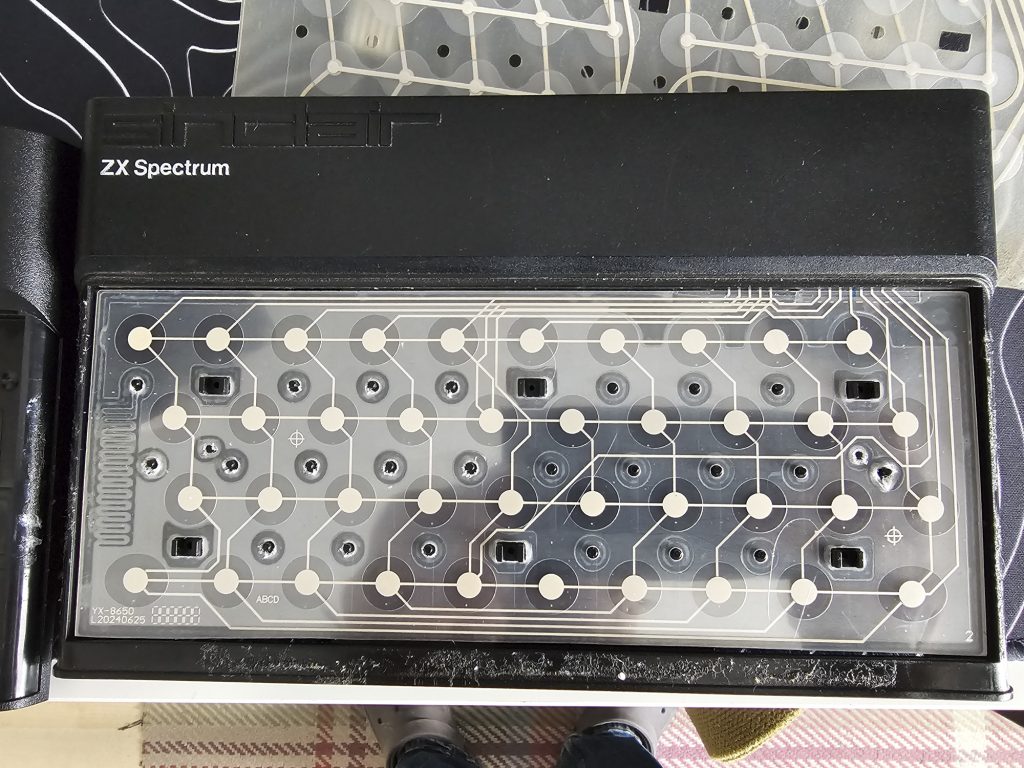
After enlarging the holes (you can see the white n the holes that I carefully (ish) enlarged. It then fitted well.
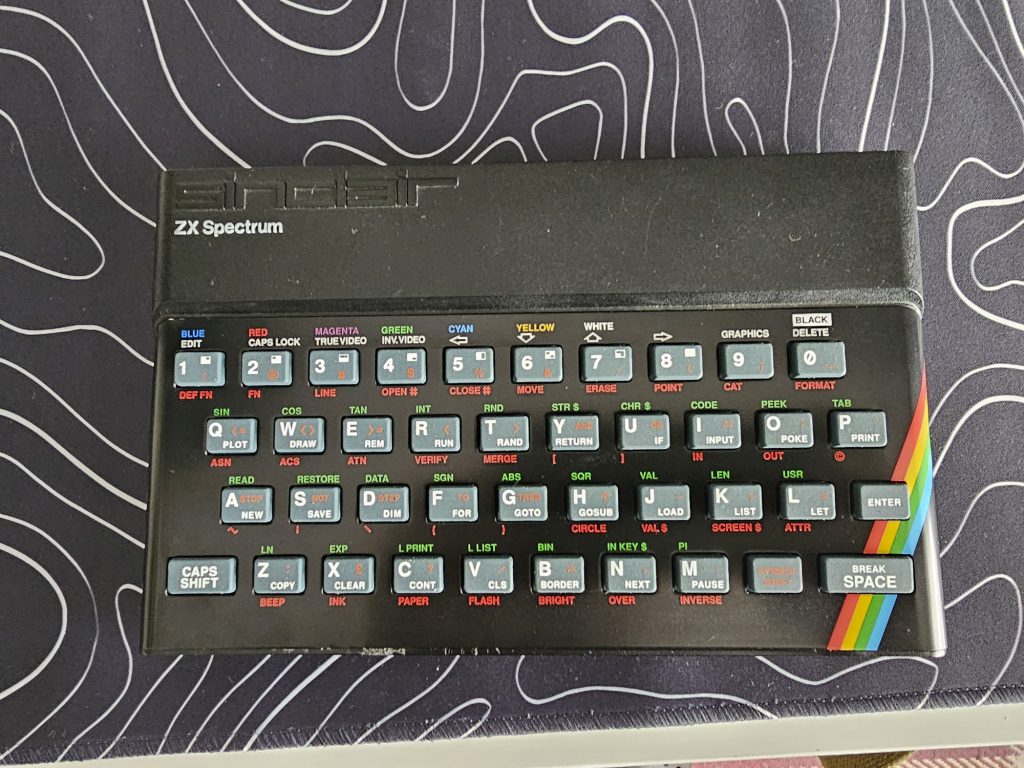
Popped the rubber keyboard on, which was obviously pliable so fitted nicely. The faceplate over that (temporarily attached for now).
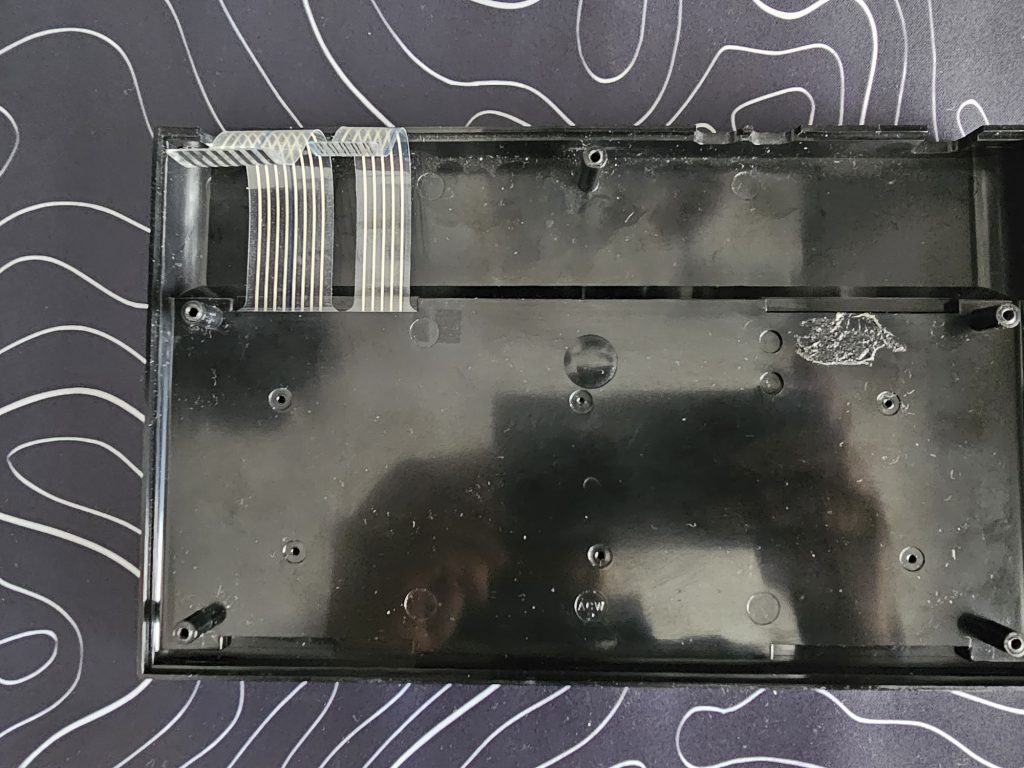
The cables exited the slot nicely, as though it was made for it(!)
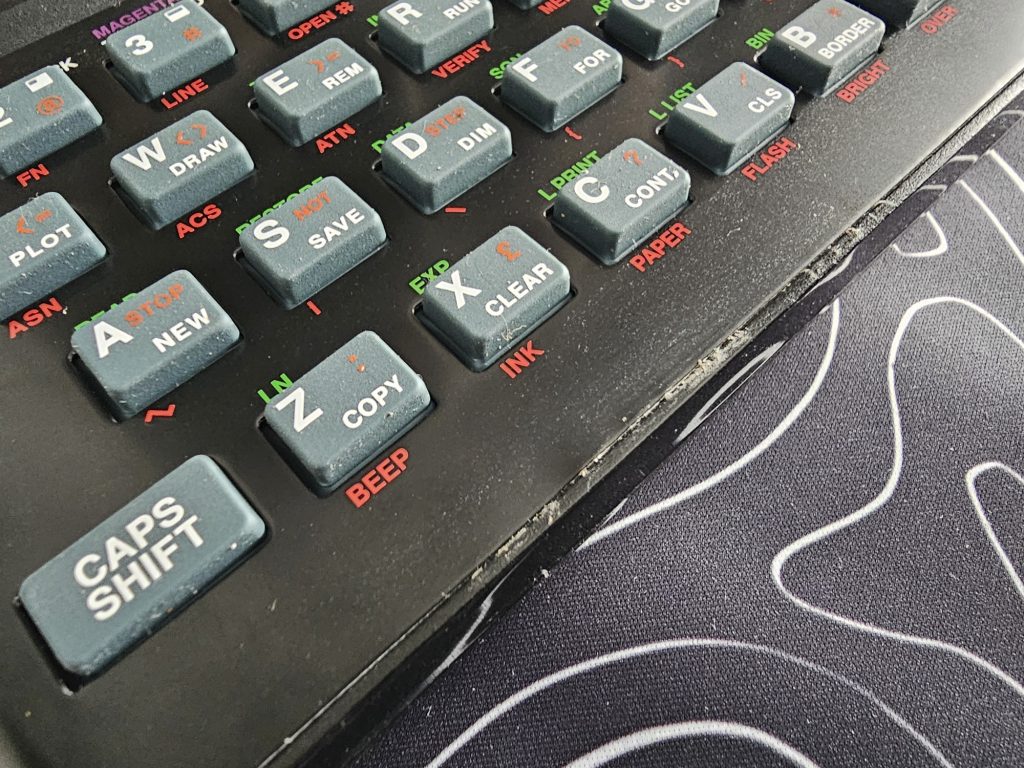
A couple of issues occurred when removing the faceplate from the ‘new’ Spectrum, and I introduced a couple of small ‘wrinkles and scratches to it (a common Spectrum refurb problem. They do scratch and warp easily, and it was very well glued on!
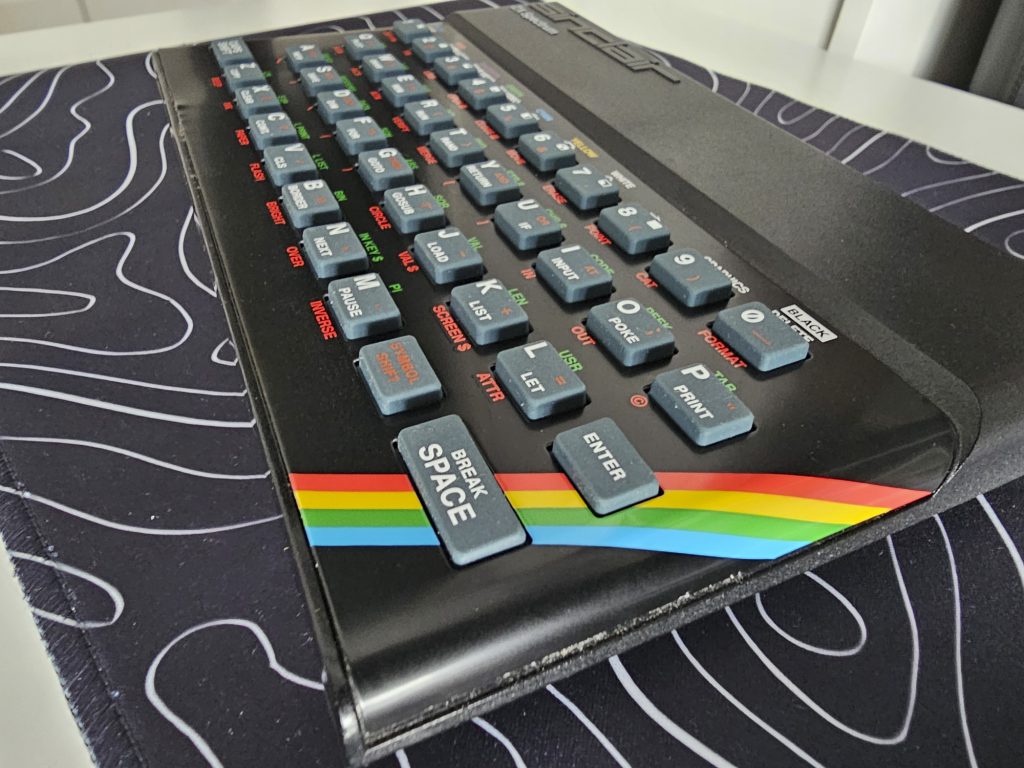
Nevertheless it fitted back on well. I’ve actually ordered yet another faceplate, to make this as pristeen ‘looking’ as possible, and I’ll clean and re-glue the faceplate on.
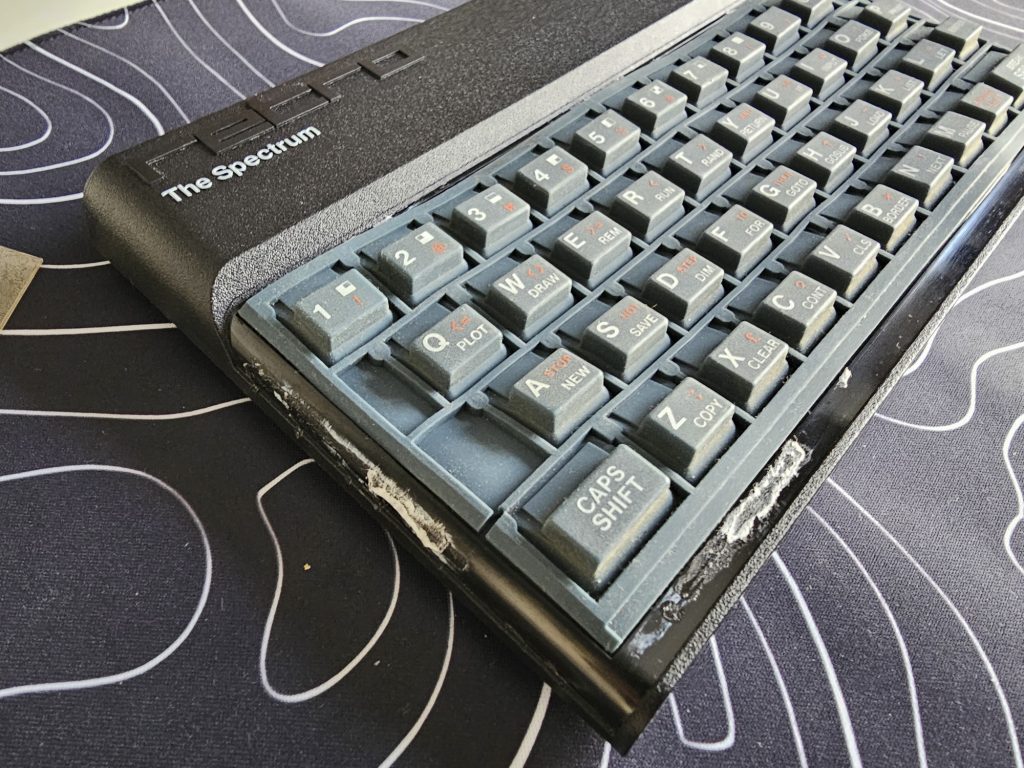
I did notice that the cavity for the keyboard rubber was actually slightly smaller on the new ‘retro’ top case. Again, not sure whether this was by design or due to tolerances.
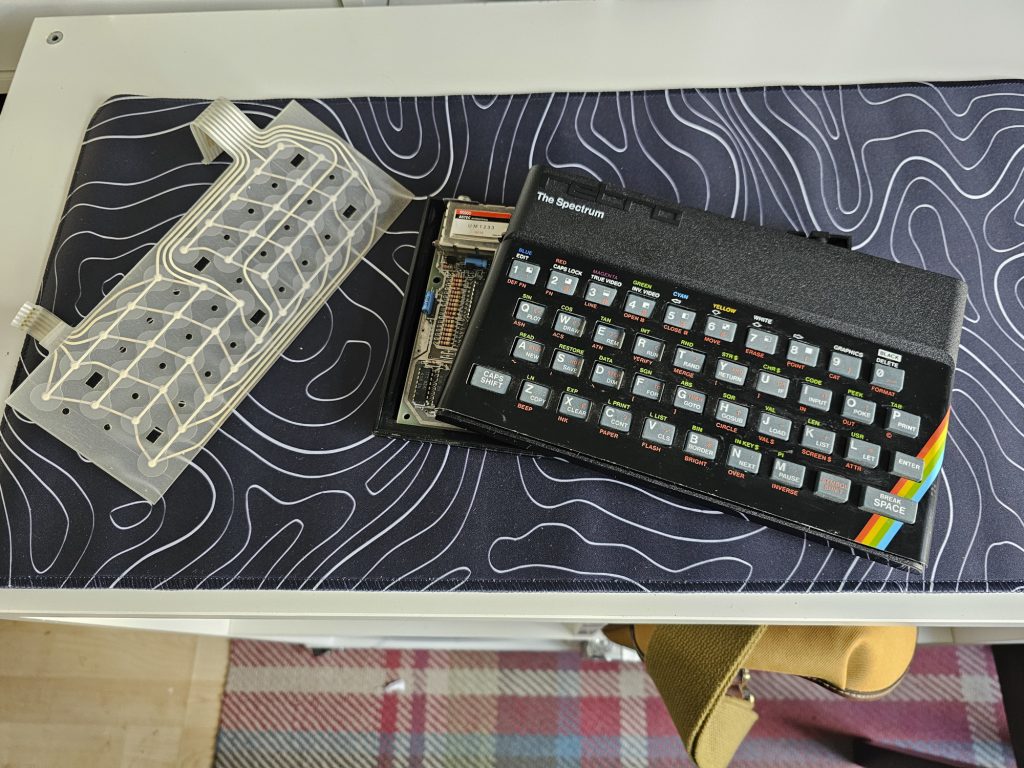
A few bits now left over for other projects!
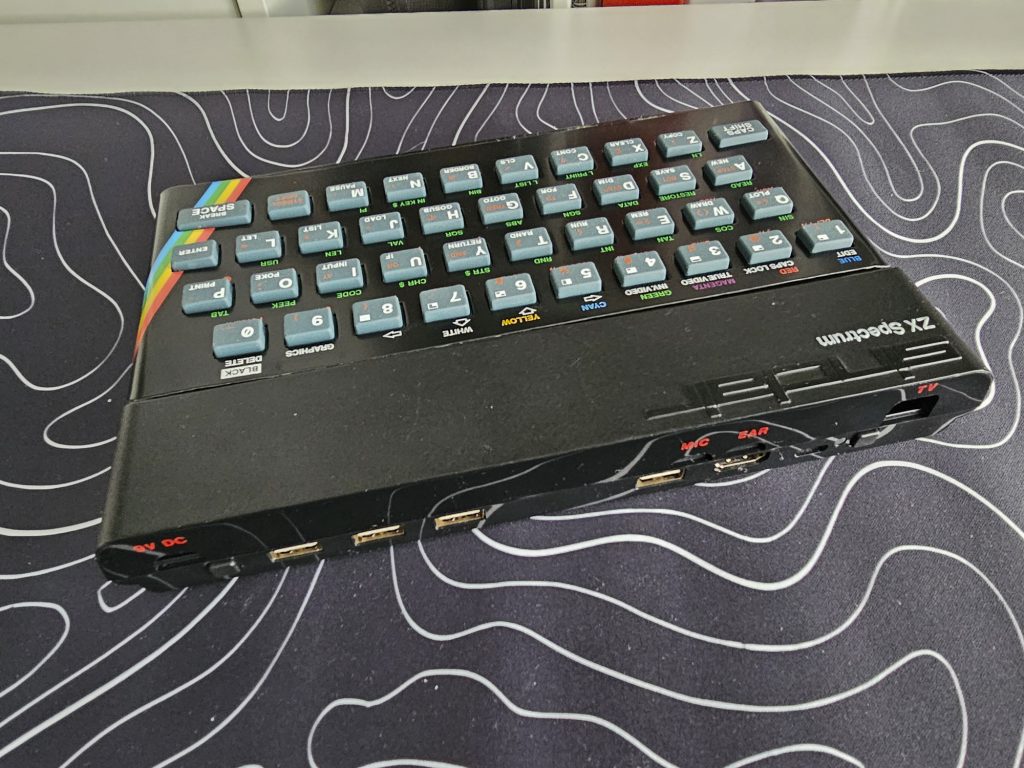
All in all, I was quite pleased with this. A nice, easy swap.
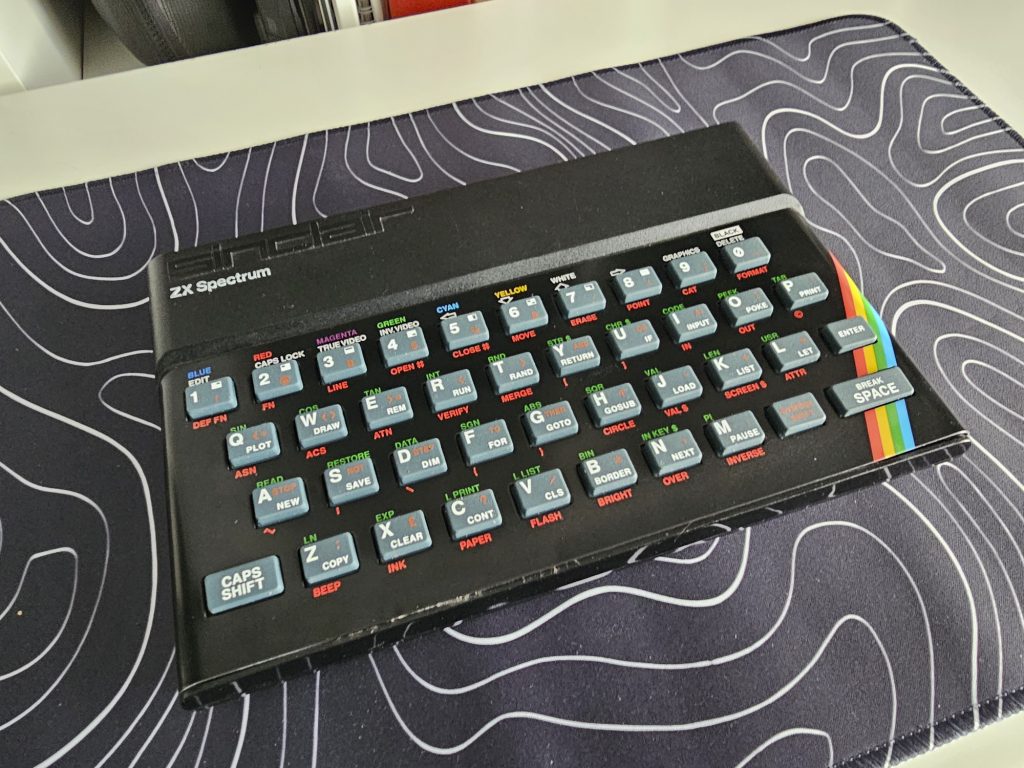
Nothing really to go wrong from a technical perspective, so all works as it should.
A great little addition to my Spectrum collection. Maybe a Microdrive SD reader conversion next…..?